How to Decorate a Chapel Altar for a Wedding: Step-by-Step Guide
How to Decorate a Chapel Altar for a Wedding: Step-by-Step Guide
EXCERPT: Dressing a chapel altar for a wedding comes down to measuring the space, protecting what stays, and placing linens. The rest is thoughtful layering: color, flowers, candlelight, and the small details that make the chapel feel like yours without competing with the architecture.
Decorating a chapel altar is different from decorating a reception venue. You are working inside a sacred space, often with rules about candles, adhesives, furniture placement, and how long decorations may remain in place. A beautiful result depends less on how much you add and more on how carefully you build from the altar outward. Measure first, protect what remains, then layer linens, florals, and lighting in a way that supports the ceremony instead of distracting from it.
Why the Altar Sets the Tone for the Whole Ceremony
The altar is the visual anchor of the chapel. Guests may notice the aisle, the music, and the bridal entrance, but their eyes return again and again to the altar. It frames the vows, the officiant, the unity ceremony, and every photograph taken from the back of the room. A well-decorated altar creates a focal point that feels intentional, reverent, and balanced.
That does not mean the altar must be covered in flowers. In a small chapel with dark wood, stone walls, and stained glass, a simple white linen, two arrangements, and a row of candles can be more powerful than an elaborate installation. In a modern chapel with neutral walls, you may need more texture, height, and color to create warmth. The goal is always the same: enhance the space without hiding it.
Before You Decorate: Permission, Measurements, and Materials
Before you buy a single ribbon, confirm what is allowed. Contact the chapel coordinator, officiant, sexton, or diocese office. Ask specifically about open flames, artificial petals, tape, adhesive hooks, nails, wire, moving the altar, and the time window for setup and teardown.
Get written approval
If the chapel has a wedding coordinator, ask for the decoration guidelines in writing. If there is no formal document, send an email summarizing what you plan to use and where you plan to place it. This protects you and helps the chapel staff prepare. Some chapels allow only battery-operated candles. Others permit real candles but require glass hurricanes. Some forbid flowers on the altar itself and ask that arrangements be placed on the floor or on side tables.
Measure twice, decorate once
Bring a tape measure, notebook, and phone camera to the chapel. Measure the width, depth, and height of the altar table. Measure the steps leading to the altar, the distance between the altar and the first pew, and the height of any fixed candlesticks. Photograph the altar from the entrance, from the side, and from the guest seating. These images will help you plan scale and proportion later.
Build a chapel decoration kit
Pack a kit with floral shears, wire cutters, clear fishing line, floral tape, zip ties, linen clips, steamer, lint roller, extra candles, lighter, battery packs, and a small stain-removal pen. Include a pair of white gloves if you will be handling linens or brass items. A simple kit prevents last-minute panic and keeps you from borrowing tools from chapel staff.
Step 1: Measure the Altar and Chapel
Start with the altar table itself. Record the length and width of the top surface. Note whether the altar has a front panel, carved details, or a recessed center. Measure the height from the floor to the top so you know how long linens should hang. If there are steps, measure the rise and run of each step.
- Altar top: length, width, and any obstructions.
- Altar front: height from floor to tabletop, plus width if you plan a front linen.
- Steps: number of steps, width, and depth.
- Background: distance from altar to back wall, screen, or reredos.
- Power: nearest outlet and whether extension cords are allowed.
Take these measurements with you when shopping for linens, candles, and containers. A floral arrangement that looks modest in a store can overwhelm a narrow chapel altar. Conversely, a small arrangement can disappear in a large sanctuary.
Step 2: Protect What Stays
The altar, candlesticks, cross, and any permanent furnishings usually stay in place. Your job is to decorate around them, not damage them. Use felt pads under candle holders, rubber-backed linens over wood, and floral foam trays under arrangements. Never place wet floral foam directly on stone, wood, or marble.
If you are unsure whether a surface can be taped, pinned, or clipped, assume it cannot. Ask first, and choose a damage-free alternative such as weighted stands, zip ties around existing fixtures, or freestanding floor arrangements.
Protect the floor as well. Lay down a clean sheet or plastic-backed drop cloth while you work. Remove all wire clippings, petals, and water spills before the ceremony begins. Chapel staff will remember a tidy setup, and a clean altar photographs better.
Step 3: Choose the Focal Point and Color Palette
Every altar decoration needs one clear focal point. It might be a large central arrangement behind the altar, two symmetrical arrangements on either side, a lush garland across the front, or a row of candles on the steps. Choose one and let the other elements support it.
For color, pull from the chapel itself. If the stained glass has deep blues and golds, ivory, cream, and greenery will feel harmonious. If the chapel is white and bright, you can introduce blush, sage, dusty blue, or burgundy. If the chapel is dark wood, warm whites, peach, and deep green create contrast without clashing.
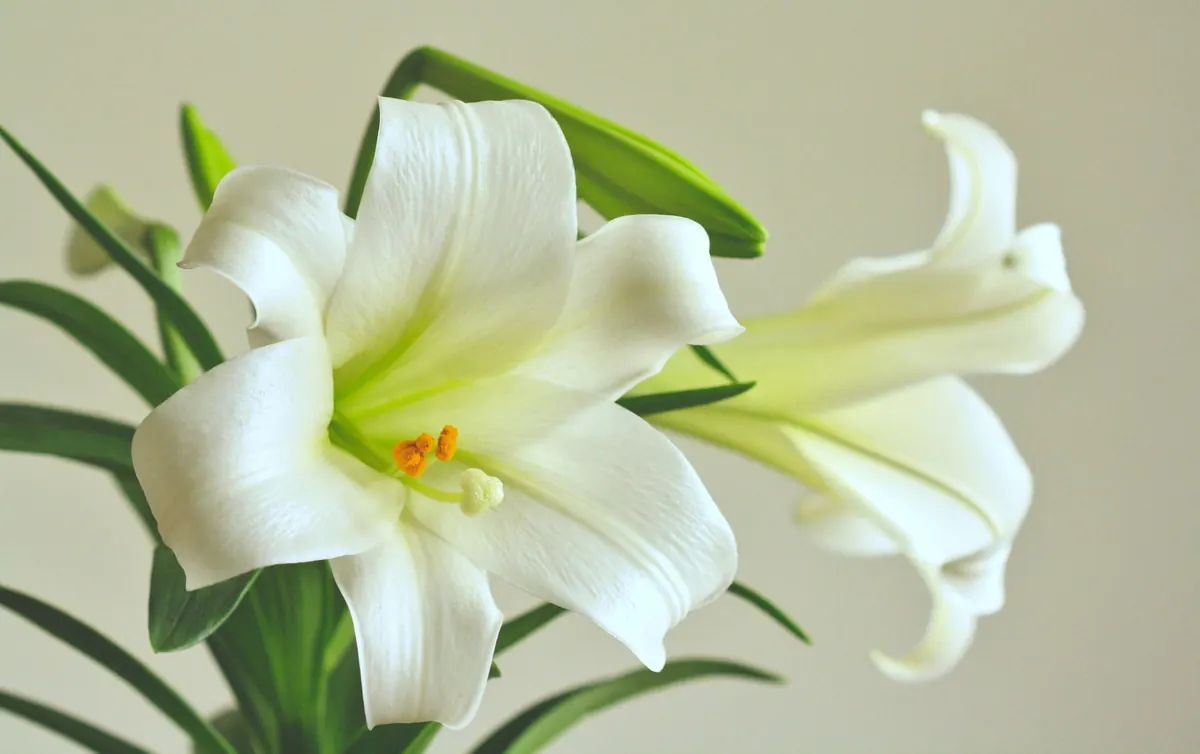
Consider the season. Spring allows tulips, lilac, and sweet pea. Summer welcomes dahlias, roses, and sunflowers. Autumn favors mums, berries, and dried grasses. Winter works beautifully with amaryllis, evergreens, and white roses. Seasonal flowers are often more affordable and more fragrant.
Step 4: Lay the Linens
Linens are the foundation of the altar design. They soften the hard edges of the altar, unify the space, and create a clean canvas for flowers and candles. Start with a pressed white or ivory altar cloth if the chapel provides one. If you are adding your own, choose a fabric that drapes well, such as linen, satin, or a matte poly-blend.
- Iron or steam the linen before you leave home. Wrinkles are more visible in chapel lighting than you expect.
- Place the main cloth so it hangs evenly on both sides. If the altar has a front panel, make sure the hem is straight.
- Add a runner or overlay if you want color. A narrow runner down the center can carry your palette without covering the entire altar.
- Secure loose corners with linen clips or discreet pins only if the chapel allows them. Otherwise, use weighted clips hidden underneath.
- Step back and check the hem from the guest seating area. Adjust until the lines look level from a distance.
If the altar is used for communion or the Eucharist, keep the center clear enough for the officiant to work. Avoid tall arrangements directly behind the bread and wine. Place them slightly to the sides or on the floor.
Step 5: Add Florals and Greenery
Florals should frame the altar, not bury it. A common mistake is making arrangements so tall that they block the cross, the officiant, or the couple’s faces. Keep the center low or open. Save height for the sides or the floor.
For a classic chapel, use two matching arrangements on pedestals flanking the altar. Add a low garland across the front edge if the altar is wide. For a smaller chapel, use one generous arrangement on the floor beside the altar and a few bud vases on the steps. For a modern chapel, consider a clean row of potted orchids or olive branches in matching containers.
Use greenery to connect the elements. Eucalyptus, ruscus, ivy, and fern are forgiving and inexpensive. Tuck in a few stems of your main flower, then repeat the same flower in smaller arrangements along the aisle or on the unity table. Repetition creates cohesion.
Step 6: Place Candles and Lighting
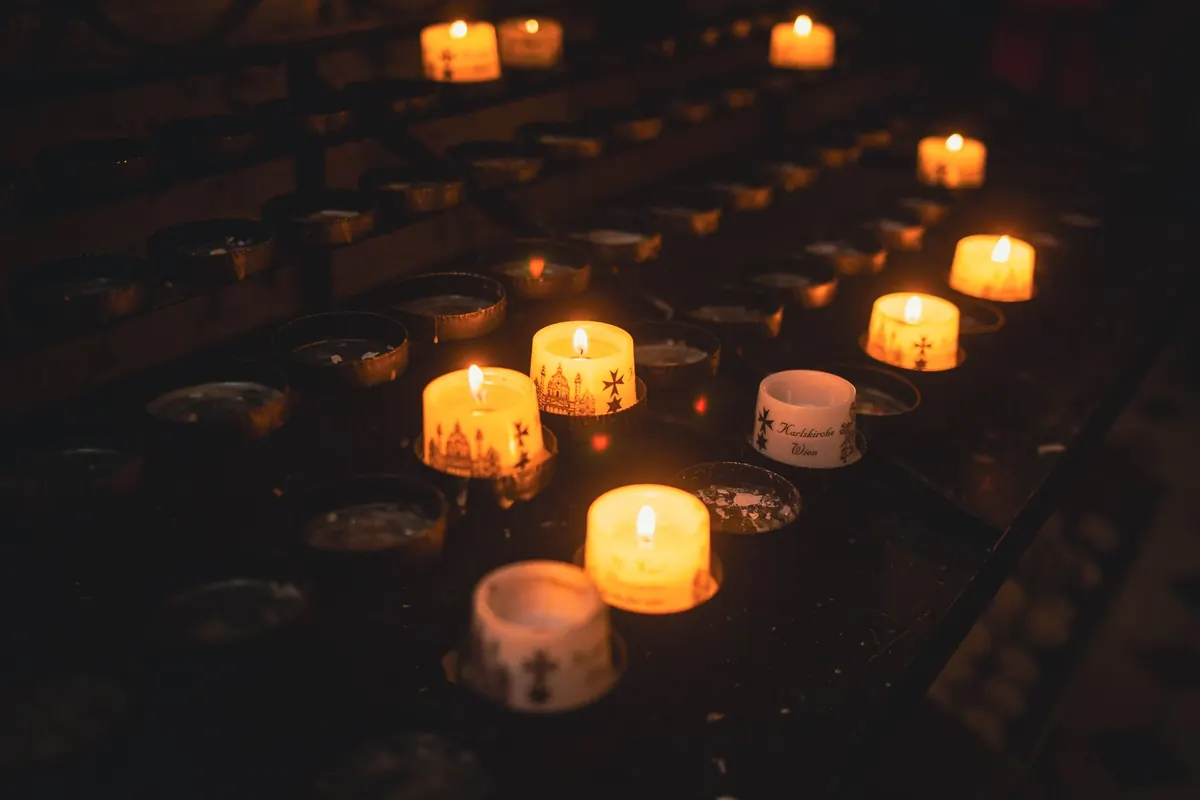
Candles add warmth and ceremony, but they are also the most rule-bound element. Check the chapel’s policy before buying. Battery-operated candles have improved dramatically and are often the safest choice. If real candles are allowed, use glass hurricanes or sturdy holders so wax cannot drip onto linens or wood.
- Altar top: two or four candles, placed symmetrically.
- Steps: a row of votives or pillar candles in glass.
- Floor: tall candelabra or lanterns if space allows.
- Background: uplights or fairy lights only if the chapel permits them.
Turn off overhead fluorescent lights if possible. Ask the chapel coordinator which lighting scenes are available. Warm white light flatters skin tones and flowers; cool white light can make even expensive arrangements look flat.
Step 7: Add Personal Details
Once the foundation is set, add a few personal touches. A small framed photo of a loved one can rest on a side table, not on the altar itself. A unity candle set, a memory table, or a sign with your names can be placed nearby. Ribbons can tie pew ends or the aisle, but they should not compete with the altar.
Personal details work best when they are grouped. One small table with a photo, a candle, and a single flower can be more moving than scattered objects around the sanctuary.
Step 8: Plan the Install and Teardown
Create a timeline backward from the ceremony. Confirm the exact time the chapel opens for decorating. If flowers are delivered, arrange for them to arrive after the chapel is available. Assign one person to direct setup and one to handle teardown.
- Two hours before: lay linens and place heavy containers.
- Ninety minutes before: arrange flowers and greenery.
- One hour before: add candles, ribbons, and personal items.
- Thirty minutes before: final walk-through from the guest entrance.
- After the ceremony: remove all decorations, sweep petals, and return borrowed items.
Do not leave teardown to the chapel staff. If you brought it in, take it out. Label your containers and keep a checklist so nothing is forgotten.
Extra Section: Budget-Friendly and Seasonal Ideas
- Reuse aisle flowers: Move pew arrangements to the altar after the ceremony for photos.
- Shop local markets: Buy buckets of seasonal blooms and arrange them yourself the morning of.
- Borrow containers: Ask friends for brass urns, wooden crates, or glass vases.
- Use greenery generously: Eucalyptus and ruscus fill space for less money than flowers.
- Choose one statement piece: A single large arrangement can be more impactful than ten small ones.
- Go candle-heavy: Battery candles and hurricanes create atmosphere without floral cost.
Extra Section: Common Mistakes to Avoid
- Decorating without permission. Always confirm chapel rules first.
- Ignoring the altar’s purpose. Leave room for the officiant and the liturgy.
- Blocking the cross or sightlines. Height should frame, not hide.
- Using unstable containers. Weight bases so they cannot tip.
- Forgetting the front view. Guests see the altar from a distance, not up close.
- Waiting until the last minute. Build in buffer time for delivery delays and adjustments.
Final Chapel Altar Checklist
- Confirm chapel decoration guidelines in writing.
- Measure the altar, steps, and background.
- Protect wood, stone, and floor surfaces.
- Steam linens and check the hem from the guest area.
- Choose one focal point and a cohesive palette.
- Keep center arrangements low or open.
- Use candles according to chapel policy.
- Group personal details on a side table.
- Assign setup and teardown helpers.
- Do a final walk-through thirty minutes before the ceremony.
A chapel altar does not need to be crowded to be beautiful. When you measure carefully, protect what stays, and layer linens, flowers, and light with restraint, the space feels both sacred and personal. Start with the foundation, build outward, and let the altar remain what it is: the quiet center of the vows.
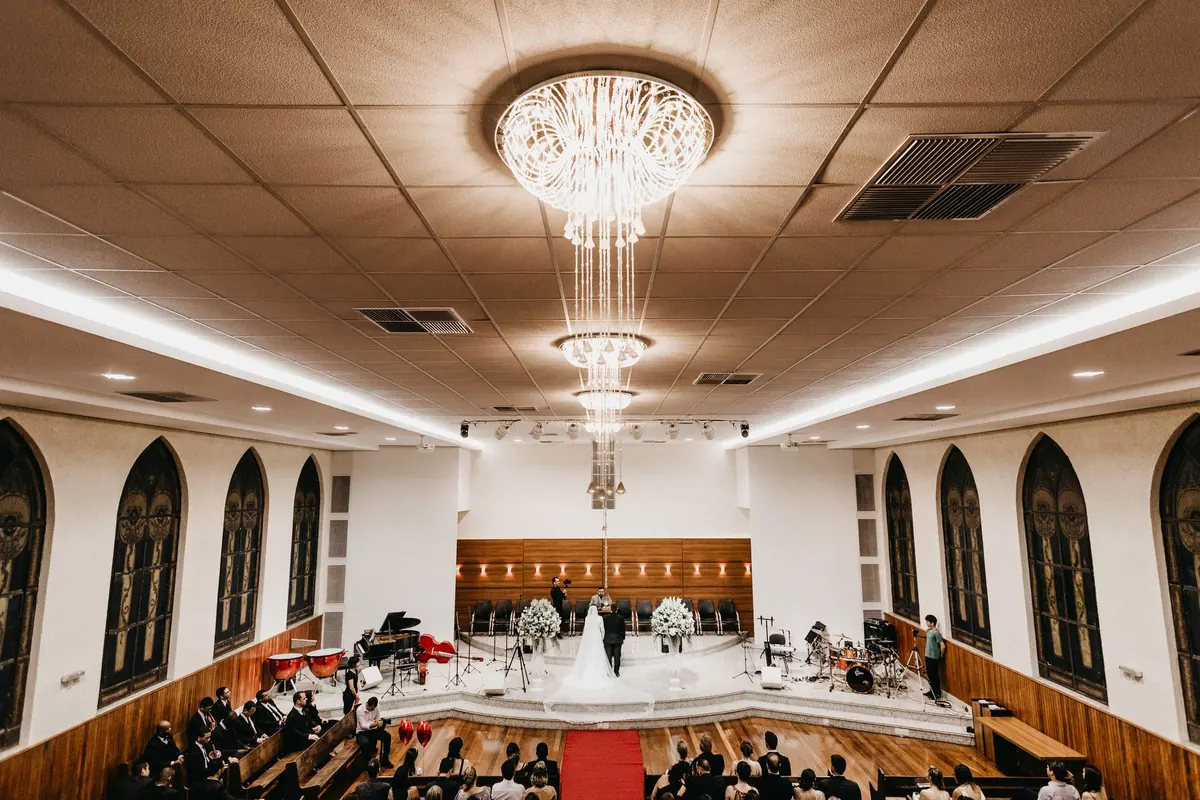
8 Common Chapel Decorating Mistakes and How to Avoid Them
Eight pew-decorating pitfalls that show up in wedding photos and guest complaints, plus practical fixes...
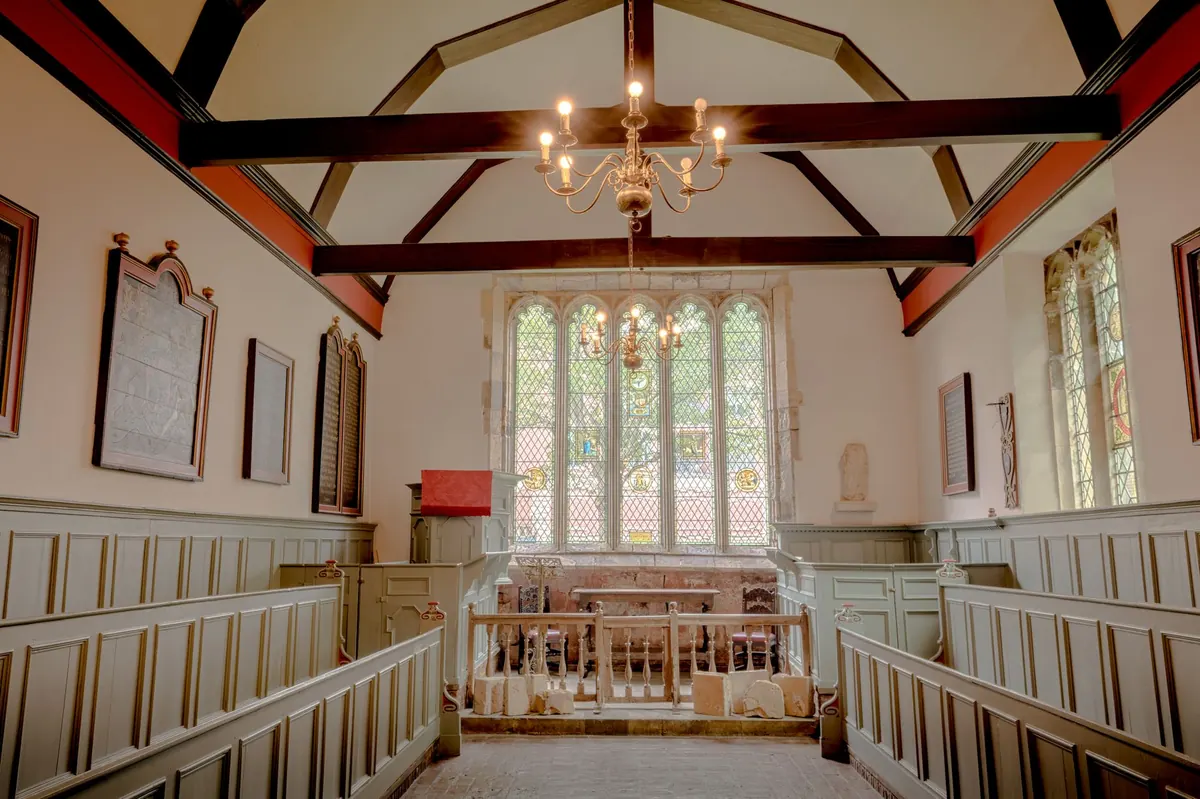
Decorating a Historic Chapel: Preservation-Safe Ideas for Older Buildings
How to decorate historic and protected chapels without harming fragile surfaces — using freestanding...
About Us