The Complete Pew Decor Checklist for a Chapel Ceremony
Pew decor is the quiet workhorse of a chapel ceremony. It frames the aisle, warms up plain wooden rows, and tells guests where to sit without a single sign. It is also the first thing to go sideways on a wedding morning, usually because someone miscounted the pews or ran out of zip ties halfway down the left side. Everything below fits on two printed pages and is meant to travel in the same tote bag as the scissors and the spare ribbon.
Count the Pews Before You Buy Anything
Do this on site, with a notebook, not from memory at home. Chapels are rarely symmetrical. Walk to the back, count the rows on the left, then count the rows on the right. Look for pews that are roped off, pulled out to make room for a piano, or shortened at the rear. Note whether the aisle sits dead center. An off-center aisle makes one side read narrower, and that side often needs a slightly fuller piece to balance the view from the entrance doors.
Then do the math twice. A chapel with 12 rows on each side has 24 pews. Aisle ends only means 24 pieces. Decorating both ends means 48, and the wall-side arrangements are mostly invisible, so most couples skip them. Add a small cushion: for 24 pews, build 26 or 27, and keep two fully finished spares in the car.
Decide about the reserved rows
The first two or three rows usually go to family. Those pews often get a fuller piece or a small marker, and the rows just behind them can take a lighter version so the change looks intentional rather than like someone ran out of flowers. Write the reserved rows into the checklist as a separate line item, because a volunteer who starts at row one will decorate straight through them.
What Goes on Each Pew
The best pew decor repeats one idea down the whole aisle. Two competing designs in the same chapel look busy in photos, so pick a hero element and commit to it.
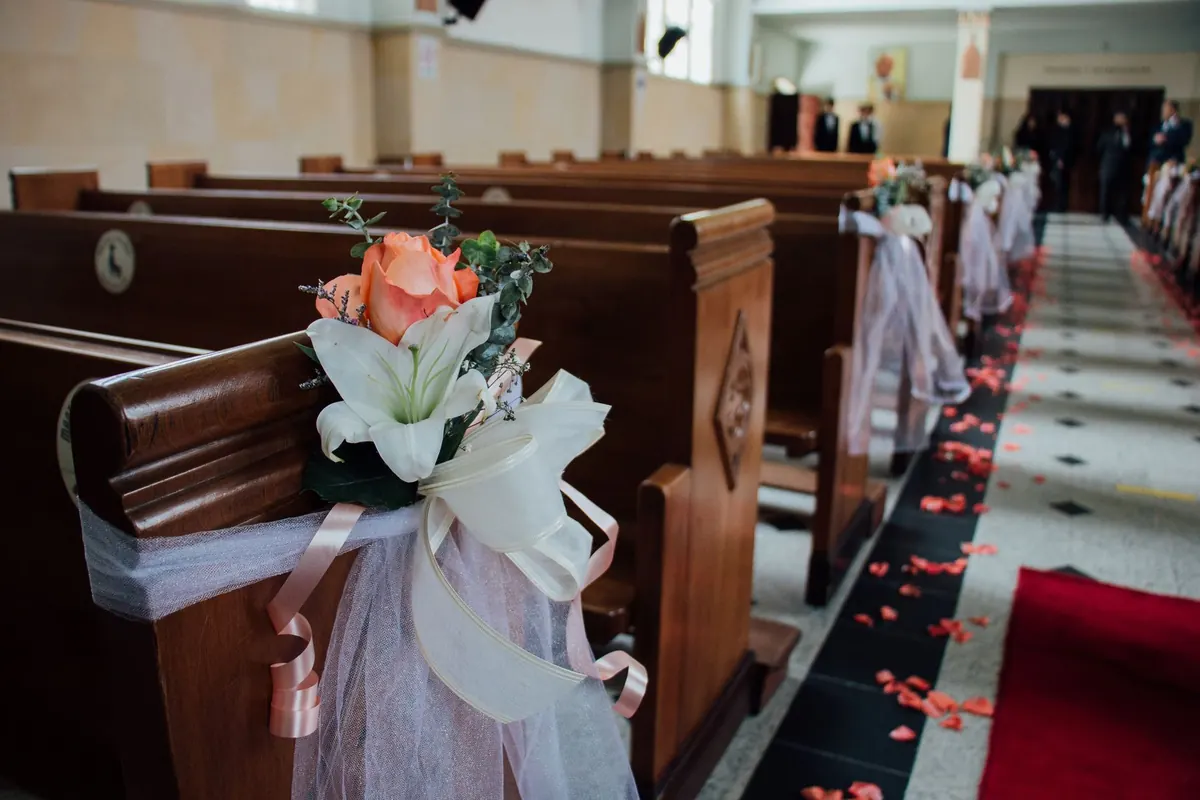
- Aisle-end nosegay. A small cluster of blooms and greens tied to the aisle end of the pew. Classic, and the easiest to mass-produce in an assembly line.
- Tussy mussy or pew cone. A wrapped posy or a cone holding a few stems; it hides its own mechanics and travels well.
- Greenery swag. A short garland segment draped along the top rail. Light and airy, but it needs more fastening points than a nosegay.
- Ribbon and bow. In a chapel with beautiful woodwork, trailing ribbon alone can be enough.
- Shepherd's hook with a jar or lantern. Adds height and glow. Confirm the chapel's flame and candle policy before you buy anything with a wick.
- Reserved-row markers. Ribbons, small frames, or printed cards for the family section.
If you are lighting candles or lanterns, ask the coordinator who is responsible for extinguishing them and whether open flame is permitted at all. Fire and insurance rules vary by building, and it is a question best asked in writing weeks ahead.
Fasteners, Tools, and the Kit That Saves the Morning
Fasteners fail more often than flowers do. Match the fastener to the pew, not to the ribbon color. Clear zip ties and chenille stems are usually safe on painted or varnished wood. Fishing line is invisible but can bite into a soft finish if it is pulled tight. Historic chapels often ban tape, staples, wire, and adhesive hooks outright, so ask before the day and bring felt pads for anything that clamps. On metal or upholstered pews, ribbon loops tied around the frame hold better than clips.
Pack one kit for the whole crew, and put a second pair of scissors in it:
- Scissors and wire cutters
- Needle-nose pliers
- Clear zip ties in two sizes
- Light-gauge floral wire and chenille stems
- Clear fishing line, plus a crochet hook for tightening knots
- Spare ribbon, pins, painter's tape, and felt pads
- A damp towel and a small bag for clippings
- A second printed copy of the checklist
Flowers and Greens That Hold Up
A chapel can be warm, drafty, or both. Hydrangeas and garden roses sulk in heat, and tulips open wide in direct sun. Safer choices include seeded eucalyptus, ruscus, salal, magnolia leaves, rosemary, myrtle, spray roses, carnations, chrysanthemums, and alstroemeria. Mix one or two fragrant greens into the recipe instead of relying on scent from the blooms.
Keep finished pieces out of sunlight, away from heaters and radiators, and away from doorways where people brush past. Store them in the coolest room you can access, or in a cooler with the lid propped open for air. Trim stems at an angle and leave them in water until ten minutes before they go on the pew. If you are building the pieces yourself, make one test arrangement two days early. If it looks tired after six hours in the room where the ceremony will happen, choose different stems.
Setup Timing That Actually Works
Work backward from the moment the doors open, not from the ceremony start. Guests arrive early, and the aisle needs to be clear before the first one walks in.
- Three hours out. Venue access, pews cleared of hymnals and cushions, reserved signs placed.
- Two and a half hours out. Boxes opened, stems trimmed, water topped up, kit laid out on a table near the back.
- Two hours out. Pew teams start at the back row and work forward, one person per side. Build the first piece on the back pew as a reference and check it against the others.
- One hour out. Aisle runner, floor petals, and any altar arrangements.
- Thirty minutes out. Kit packed away, clippings removed, spares stashed out of sight, one person appointed to do nothing but look.
- Fifteen minutes out. Doors open. The pew crew steps aside and stays off the aisle.
The Printable Checklist
Photocopy this page, or copy the lines below onto a single sheet and clip it to the tote bag.
- Before the day: pew count confirmed on site; reserved rows marked; fastener type approved by the venue; flame policy confirmed; firm delivery window booked; helper count confirmed.
- Delivered or on hand: arrangement count plus two spares; loose ribbon; reserved-row markers; aisle runner; petals; candle supplies if allowed.
- In the kit: all items listed above, plus a trash bag and a damp towel.
- Day-of assignments: one runner with the kit, two decorators per side, one person on the reserved rows, one photographer's assistant to clear the aisle before portraits.
- Removal plan: who takes pieces down, where they go afterward, and whether the chapel wants the pews returned to their original state. Ask before you leave anything behind.
The Walk-Through Before the Doors Open
Before anyone opens a door, walk in as a guest would: through the main entrance, down the center, and up to the front row. Look for a crooked bow, a zip tie showing, a stem poking into the aisle, or a gap where a spare should have gone. Then stand at the front and look back toward the doors, because that is the angle your photographs will repeat all day. Fix the two things that bother you most, put the rest in a bag, and hand the checklist to whoever is doing cleanup. The aisle is finished. Go get ready.
Photo: D BON / Pexels
8 Common Chapel Decorating Mistakes and How to Avoid Them
Eight pew-decorating pitfalls that show up in wedding photos and guest complaints, plus practical fixes...
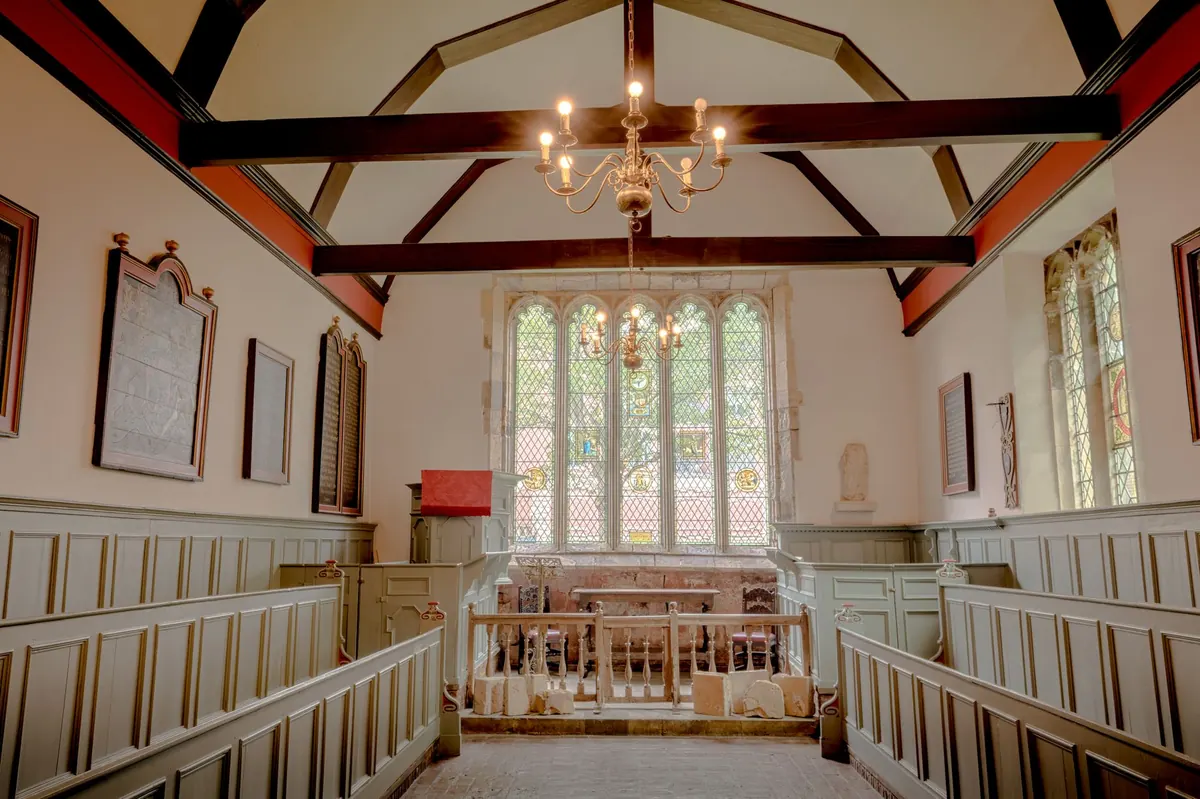
Decorating a Historic Chapel: Preservation-Safe Ideas for Older Buildings
How to decorate historic and protected chapels without harming fragile surfaces — using freestanding...
About Us